
Removing
1. Remove floor mats.
2. Remove the rear of the center console, see relevant chapter.
3. Remove the lower console trim by pushing it back and releasing its stops from the front of the center console.
4. Remove the front console cover without removing the switch box, see relevant chapter.
5. Remove the glove box, see relevant chapter.
6. Unscrew the four screws that secure the front of the center console at the top and bottom (see illustration).
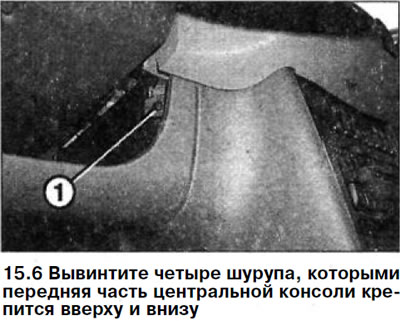
Attention! The illustration shows screw 1, which is used to fasten the console at the top left.
7. Remove the lower instrument panel trim from the driver's side, see relevant chapter.
Attention! The headlight range control, the hood opening handle and the diagnostic connector do not need to be removed.
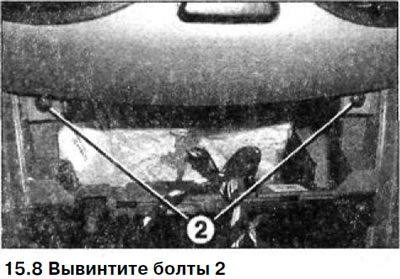
8. Unscrew bolts 2 (see illustration).
9. Release the switch block from the three fasteners by pressing them out with a screwdriver under the rotary switches.
10. Raise and fold back the floor covering on the passenger side.
11. Remove the front of the center console by pushing it back.
Installing the front of the center console is performed in the reverse order of removal. When installing, keep the original position and laying of electrical wires.