
Car luggage compartment
First aid kit and warning triangle
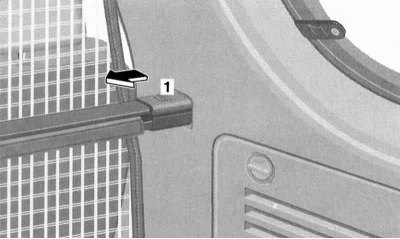
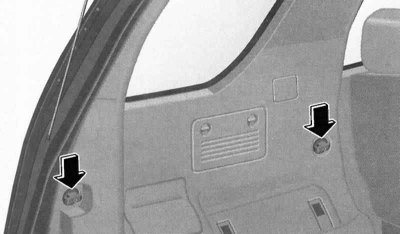
The regular first-aid kit is equipped in the left glove box of the tailgate of the car, - the hinged cover of the box is marked with a pictogram depicting a white cross on a blue background. Periodically check the contents of the first aid kit for completeness.
The emergency stop sign is placed in the right glove box of the tailgate of the car, - the hinged cover of the box is marked with an exclamation mark icon.

Location of storage boxes for first aid kit storage (1) and warning triangle (2)
Spare wheel, jack and tire compressor
Description of regular storage places for a spare wheel, jack (with balloon wrench) and compressor for tire inflation are given in Administered to this guide.
Safety net
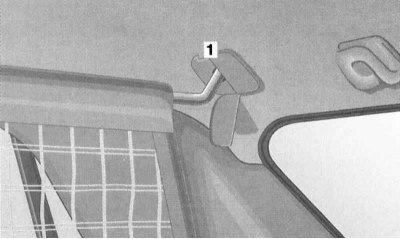
If necessary, the safety net can be stretched behind the front seats, or behind the rear bench seat - fold down the decorative covers of the fasteners, hang the net.
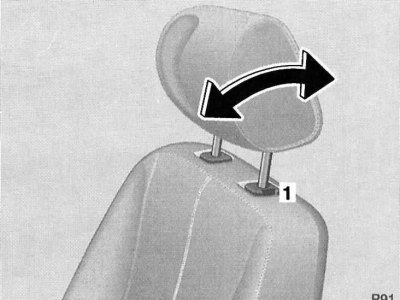
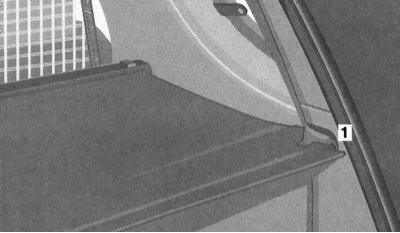
Installation details of the upper edge of the safety net
1 - The upper elements of the mesh attachment are equipped with hinged protective covers
After attaching the mesh to the upper fasteners, hook the hooks of the lower fastening straps to the special anchor brackets on the floor panel of the car, then tighten the straps using the turnbuckles.
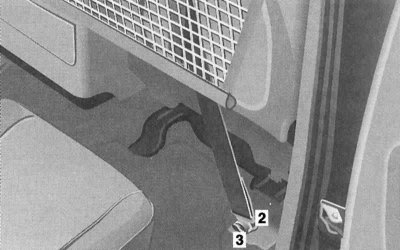
Fastening details of the lower edge of the safety net (when installed behind the front seats - the belt buckle is covered with a mesh)
2 — Hook of a fastening belt
3 - Anchor bracket
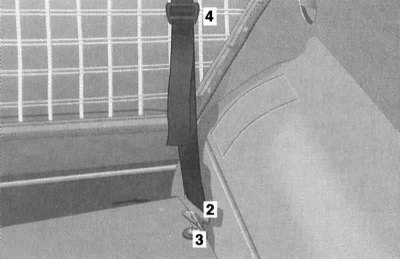
Fastening details of the lower edge of the safety net (when installed behind the rear bench seat)
2 — Hook of a fastening belt
3 - Anchor bracket
4 - Coupling lock
Reliability of the net tension should be checked after a short time - if necessary, tighten the fastening straps.
Attention! Transportation of passengers on seats located behind a stretched net is not allowed!
Removing the mesh is done in reverse order. A regular place to store a rolled safety net is provided behind the bench rear seat.
Horizontal blind
Note. The installation of the rear horizontal blind is only possible with the retractable folding seats of the optional third row (see Section Seat adjustment).
The casing of the horizontal blind is mounted in a spacer in the front part of the luggage compartment - after inserting the casing into the receiving recesses, press the release button of the latch and move the movable fastener outward. Next, the curtain is pulled out through the rear groove of the casing and fixed in special holders near the tailgate opening.
To remove the curtain, release it from the rear holders, and, holding the loop, wind it into the casing. Next, slide the movable fastener inward until it clicks into place and release the curtain assembly from the recesses in the side trim panels at the front of the luggage compartment
Details for fixing the curtain cover in the front of the luggage compartment (to secure the casing, press the release button of the latch (1) and move the movable fastener in the direction opposite to that indicated by the arrow).
Details of installation of the rear horizontal blind
1 - Rear holders
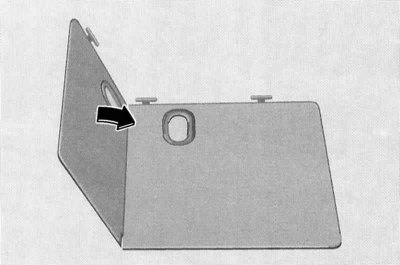
Floor covers
Removable covers are provided on the vehicle floor panel under the rear bench seat assembly. Before removing the covers, the folding seats of the optional third row must be dismantled (see Section Seat adjustment).
Fold the backrest of the bench seat and fold the floor cover forward - the cover locks are released automatically.
The removed covers fold in half and fit into pockets on the backs of the folding rear seats of the optional third row.
The removed luggage compartment floor covers are folded in half before being stowed away in the pockets of the third additional row of folding seats.
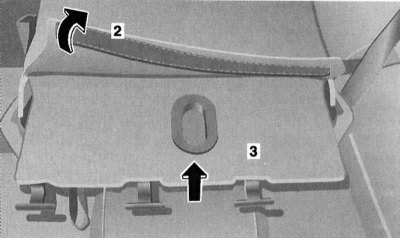
Stowing the folded lid into the pocket on the backrest of the folding rear seat
2 - Pocket fastener (type «Velcro»), - unfasten
3 - floor cover
To install the cover in place, put your hand into a special service hole and fill the guide pins into the receiving slots - the release button of the latches should click into place.
Elements for securing cargo
Special brackets on the floor panel, two behind the front seat assemblies and four directly in the luggage compartment.
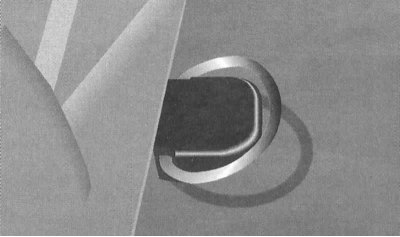
Bracket for fixing the load
Options for securing cargo for various placements are shown in the illustrations.
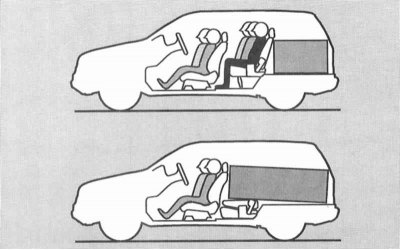
Cargo placement options
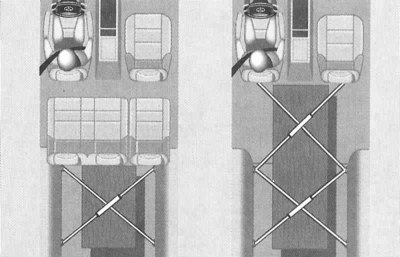
Cargo securing options
Four more fasteners for fixing light cargo are provided on the walls of the luggage compartment.
Hooks for fixing light loads